Requesting Banner Security Access
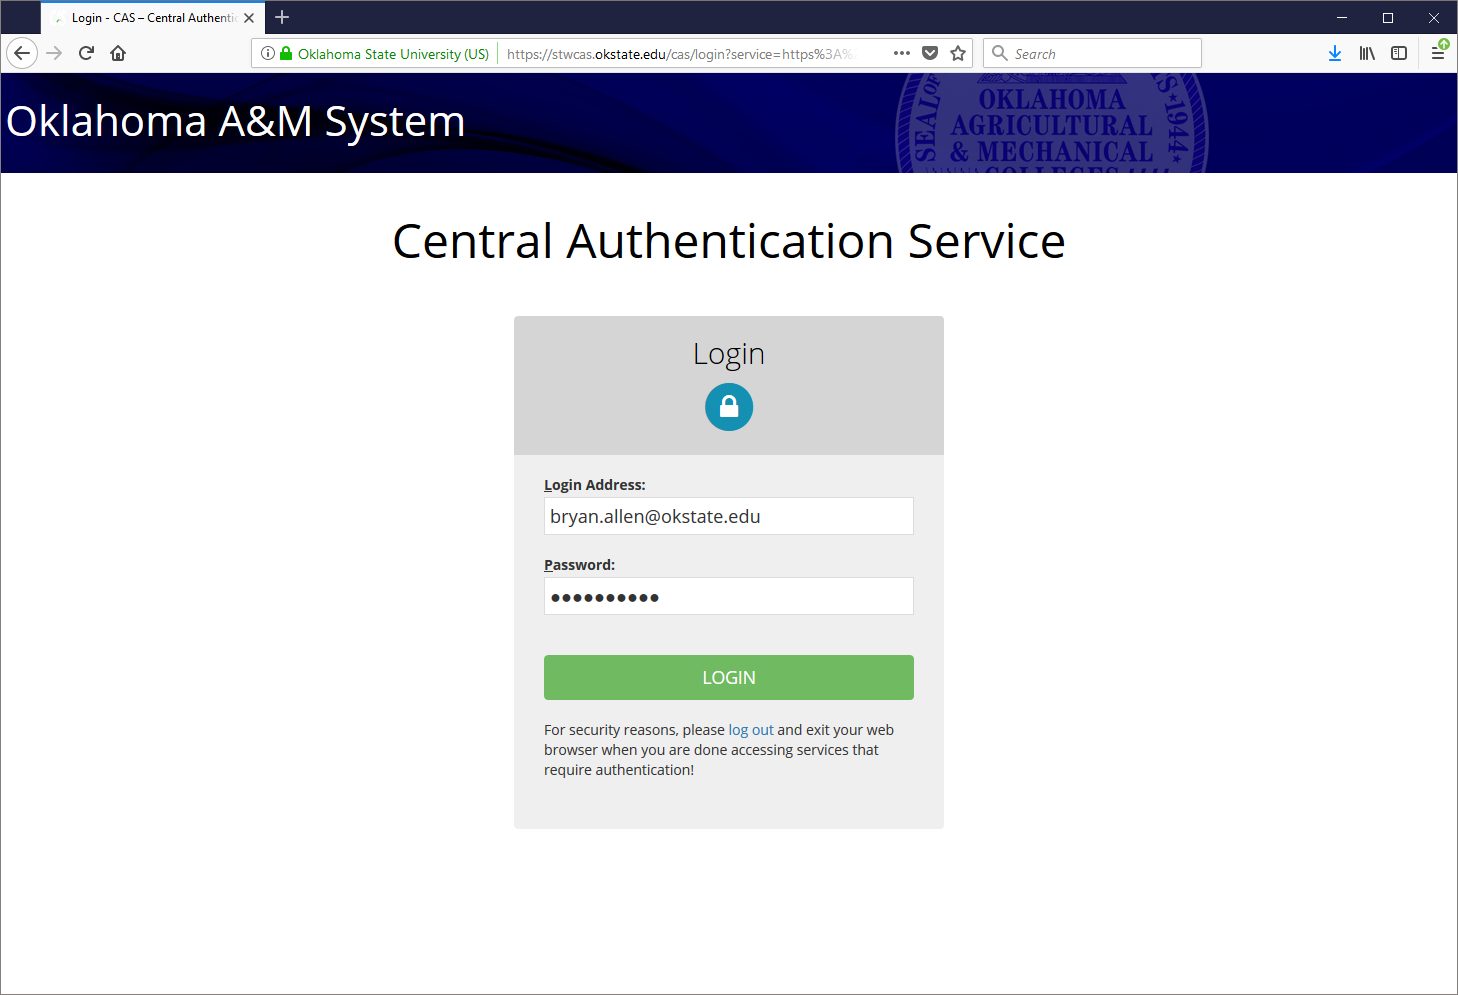
- Log into the Access Request application at: https://apps.okstate.edu/access_request
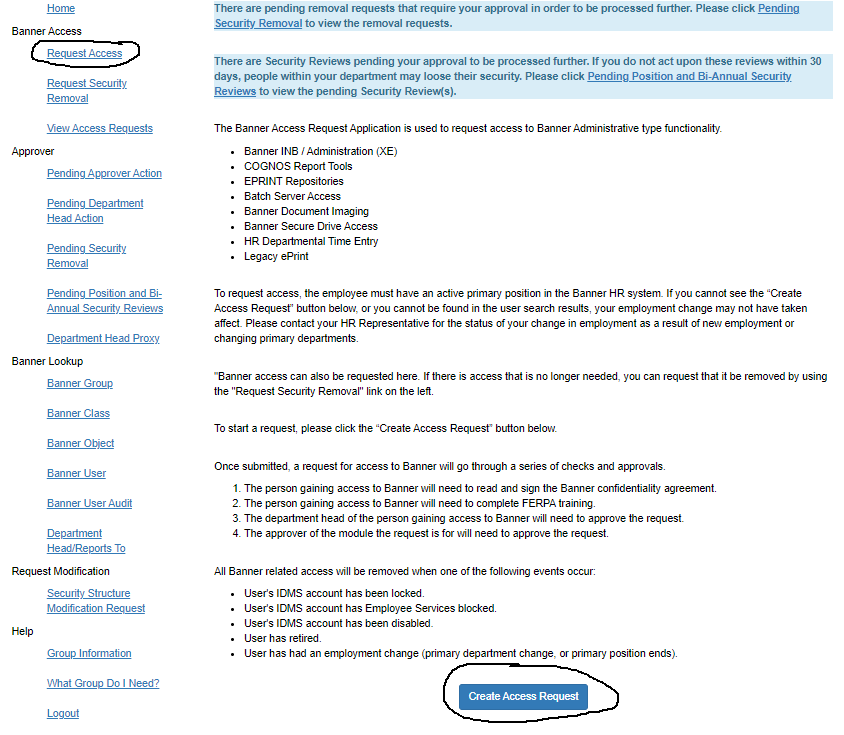
- Click on the ‘Create Access Request’ button in the middle of the page to begin your request or the ‘Request Access’ menu item.
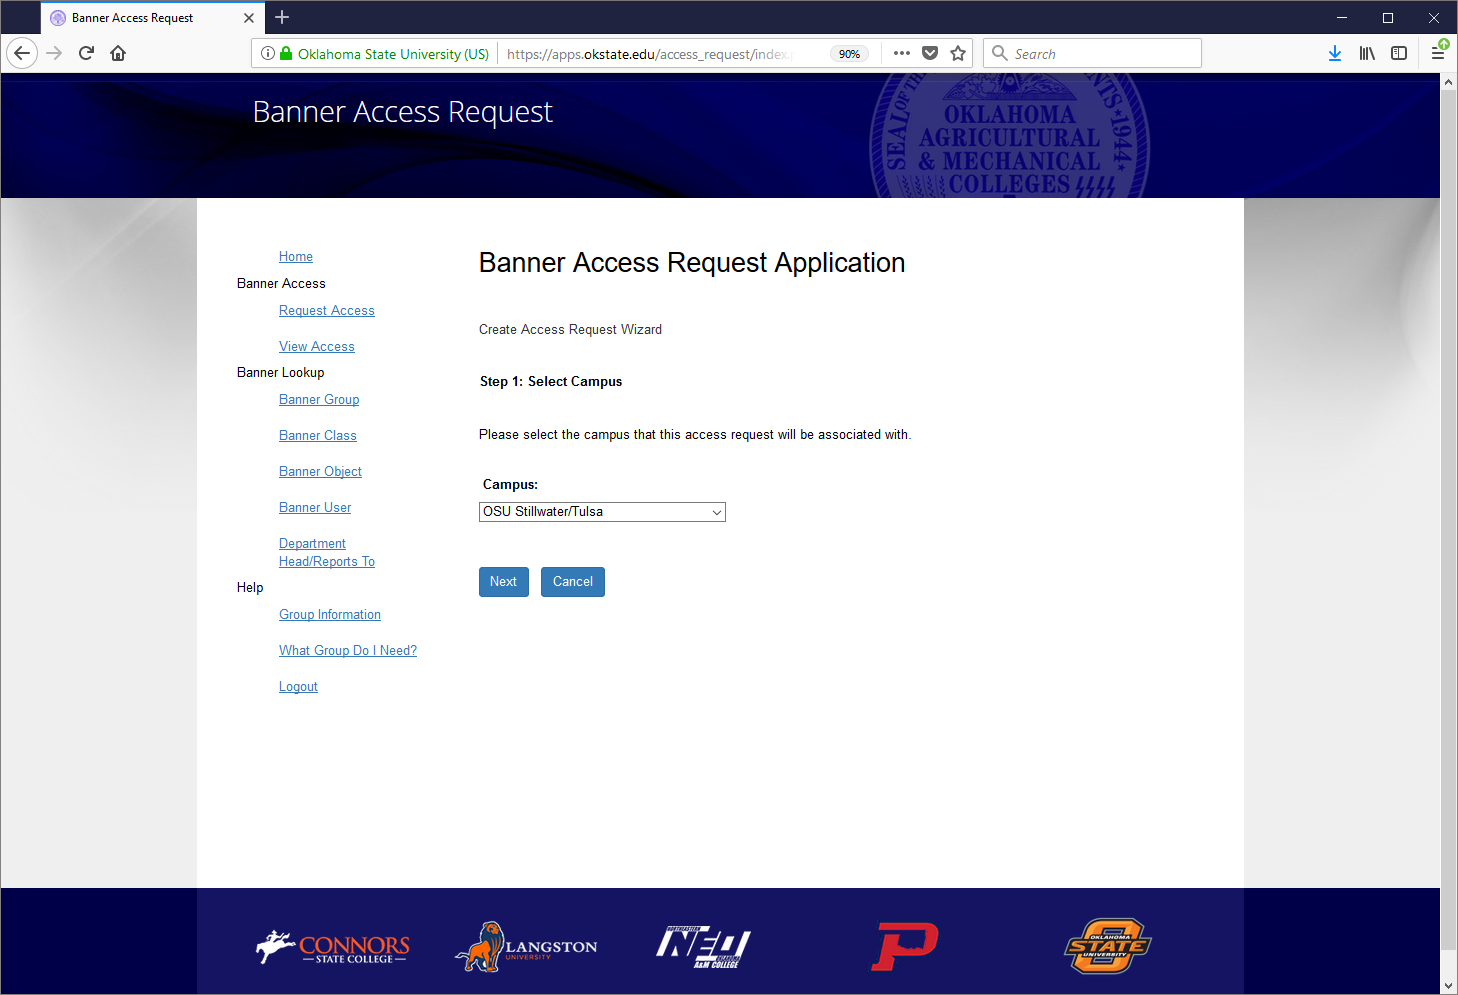
- Select which campus the request is for from the dropdown list and then click the ‘Next’ button.
- Select which module the request is for from the dropdown list and then click the ‘Next’ button.

- Search for and select the person who needs access.
- You can search for the person the request will be for by entering any of the following values
- First Name
- Last Name
- Email Address (in Lionkey, Ckey, O-Key, Aggie Access, Goldkey)
- Username in the Identity Management System
- Banner ID
- CWID
- You can search for the person the request will be for by entering any of the following values
Type in one or a combo of the search fields and click the ‘Next’ Button.
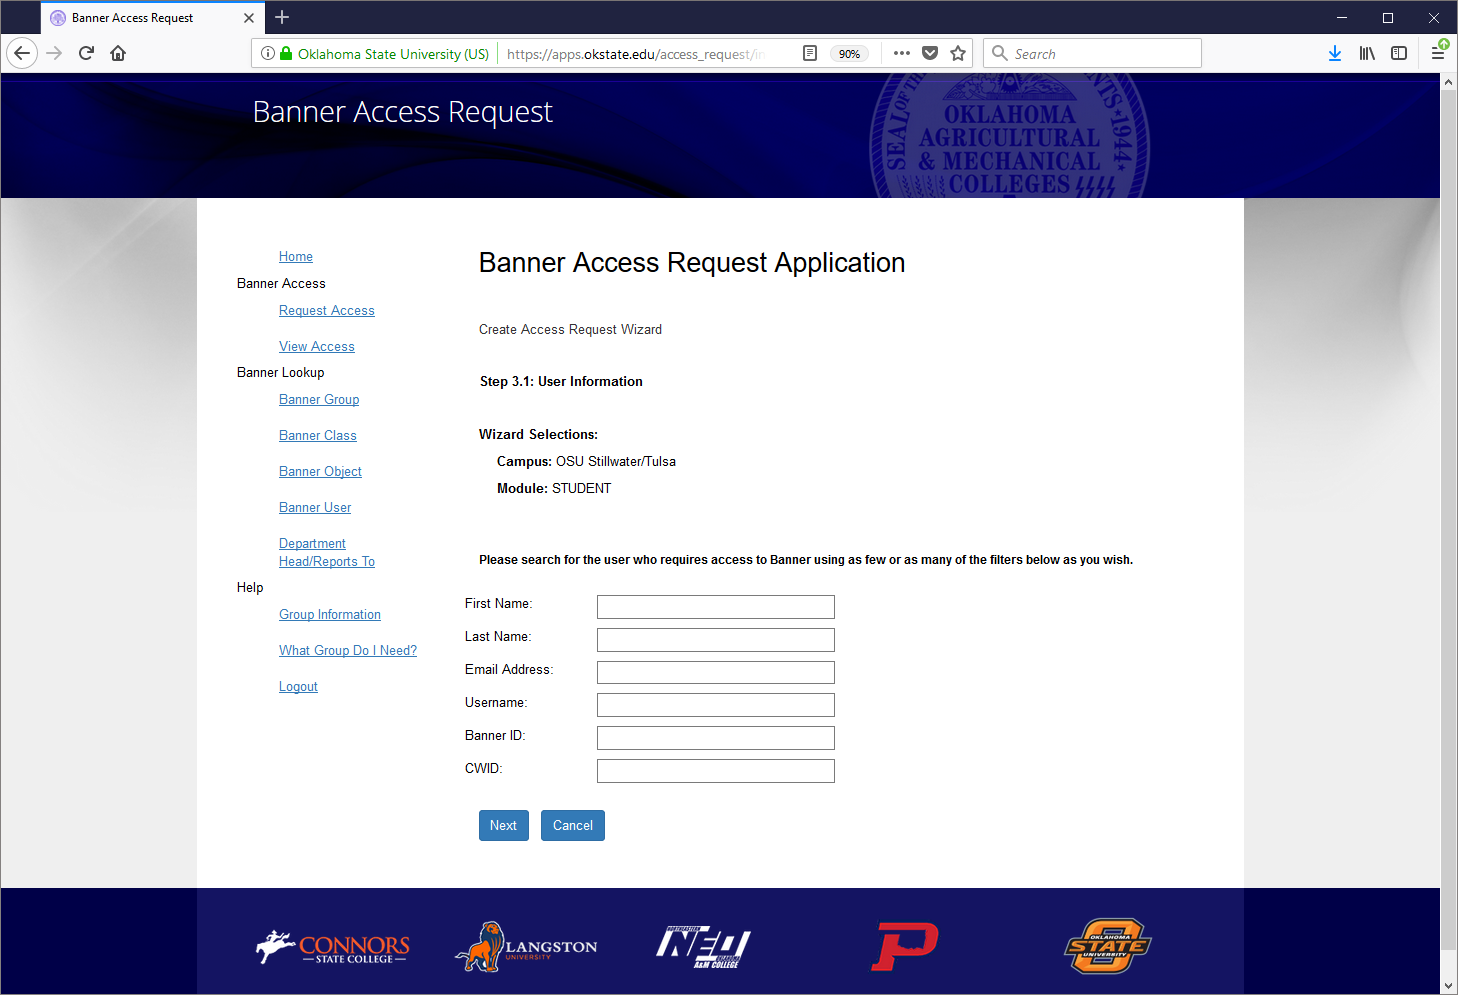
A list of search results will be displayed. Select the radio button next to the person you want to create the request for and then click the ‘Next’ button. 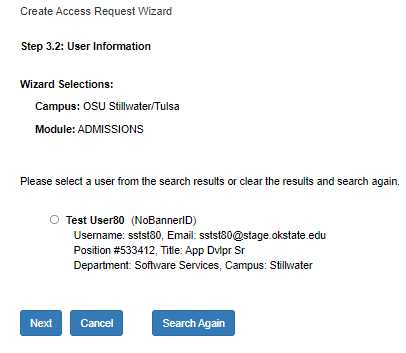
- The department head for the employee will automatically be displayed
- Click the ‘Continue’ button to proceed with the request.
- If a department head has not been setup for your department, the following message will show.

- When the message is displayed, an email is sent to the people listed as HR Campus Contacts. Once a department head has been identified and coded for the employee, the employee requesting access should receive an email from the HR Campus Contact indicating that a Department Head has been entered into the system for them. At this time, the employee can log back into the application and request the access they need.
- A list of groups based upon the selected module and campus will be displayed.
- Select the groups based on access needed.
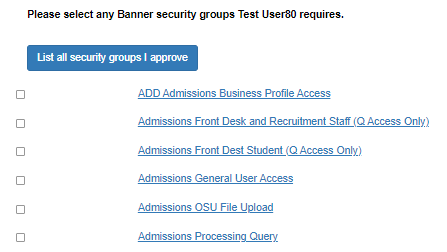
- Select the groups based on access needed.
Note: If the person creating the request is a module approver, they will see the ‘List all security groups I approve’ button. Use this button if a group needs to be added that is not open to the user’s department.
- After selecting security groups, the next page will display business profiles based upon the module and campus. Business profiles are not mandatory but are often required to perform certain tasks within a form. Select any business profiles the employee needs and click the ‘Next’ button.
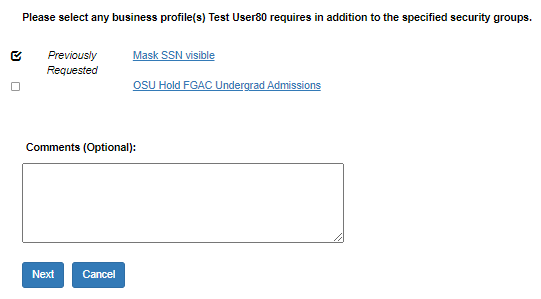
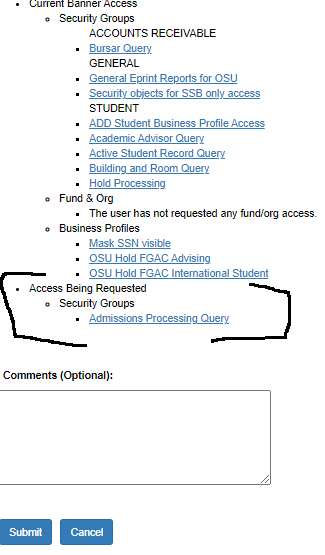
- Review the information you have selected, add any comments, and then click the ‘Submit’ button at the bottom of the form.
