Open Records - Admin
To process requests for this application, end users must belong to one of the following Active Directory global groups:
STW_OPEN_RECORDS_BRAND_MANAGEMENT (processes any category type)
STW_OPEN_RECORDS_ATHLETICS_OTHER (processes category type Athletics Others)
STW_OPEN_RECORDS_ATHLETICS_FINANCE (processes category type Athletics Finance)
STW_OPEN_RECORDS_ATHLETICS_NCAA (processes category type Athletics NCAA Rules Compliance)
STW_OPEN_RECORDS_ATHLETICS_RECORDS (processes category type Athletic Contracts)
STW_OPEN_RECORDS_IR (processes category type Institutional and Student Data)
STW_OPEN_RECORDS_IREC (processes category type General University Records)
STW_OPEN_RECORDS_PD (processes category type Police Records)
STW_OPEN_RECORDS_PURCHASING (processes category type Purchasing)
OKC_OPEN_RECORDS (processes any category type for Oklahoma City campus)
OKM_OPEN_RECORDS (processes any category type for OSU-IT campus)
CHS_OPEN_RECORDS (processes any category type for Center for Health Sciences campus)
STW_OPEN_RECORDS_LEGAL (processes any category type)
Getting Started
To access the Open Records application and process requests, in a Web Browser log into the URL https://openrecords.okstate.edu/admin. Authentication is with the O-Key Username and Password.
Admin help guide for responding to Open Records requests:
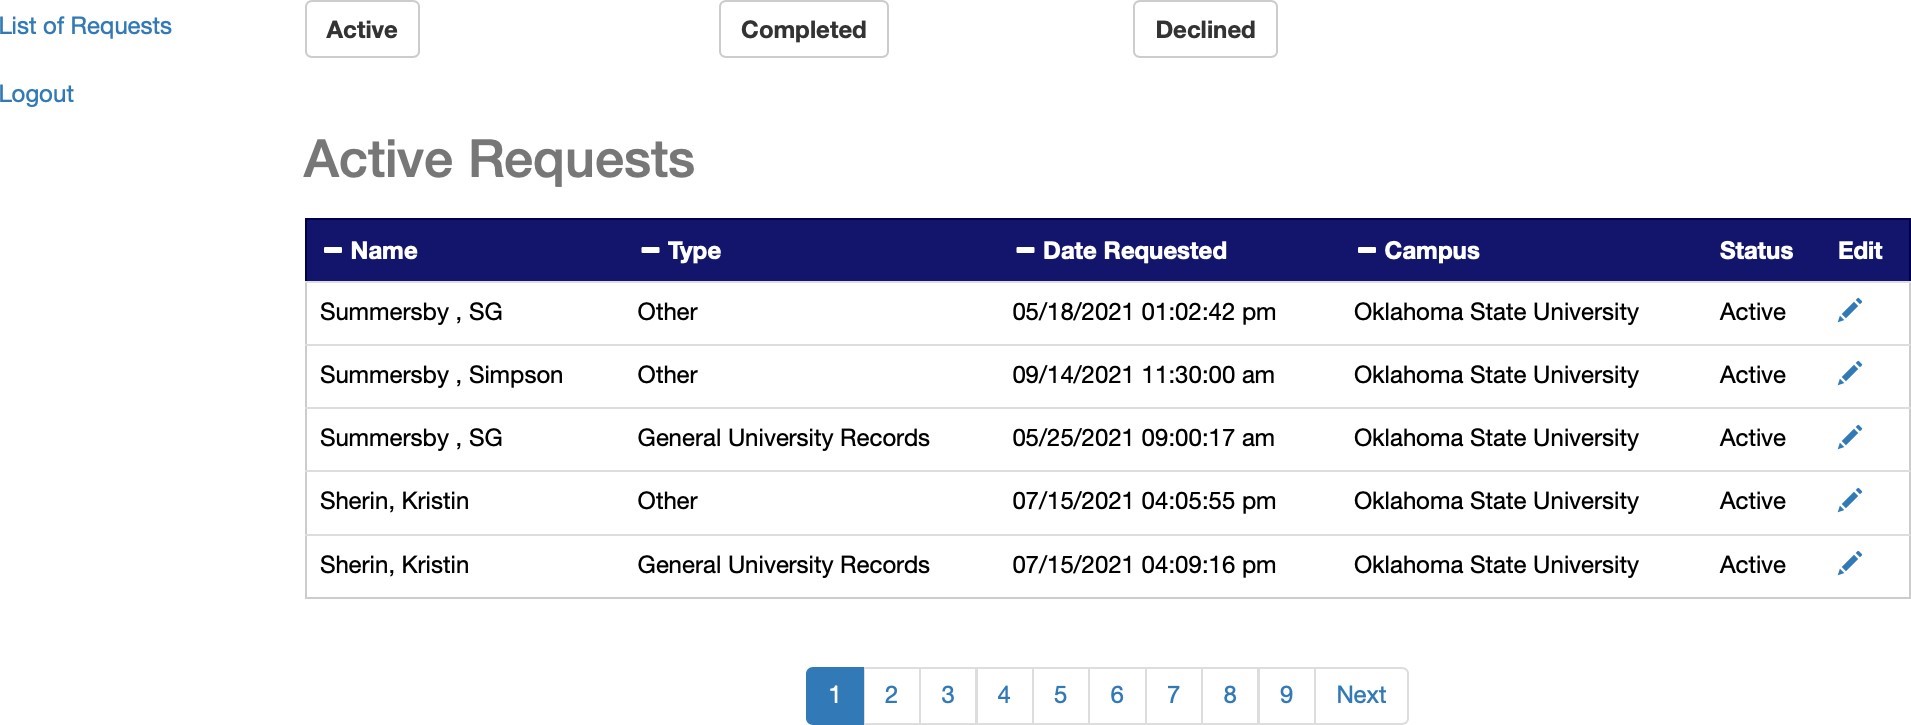
- Log into the system at URL https://openrecords.okstate.edu/admin to see pending requests assigned to your department. You will have access to your
active requests, completed requests and declined requests. Choose the pencil icon
under the Edit column to access a request.
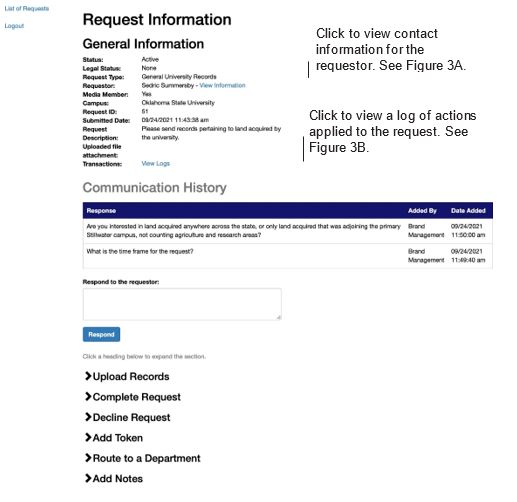
- After selecting the pencil icon to edit a record, the following screen appears. A more detailed description of all actions possible is shown on the next three pages with all buttons expanded.
- All messages to and from the requestor will appear under Communication History.
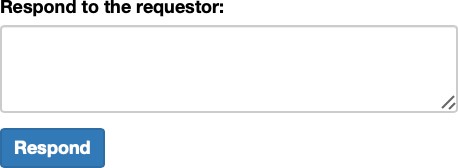
- Need to send a clarifying question or other message to a requestor? Type in the Respond To The Requestor field and click the Respond button. Your message will appear in the Communication History section.
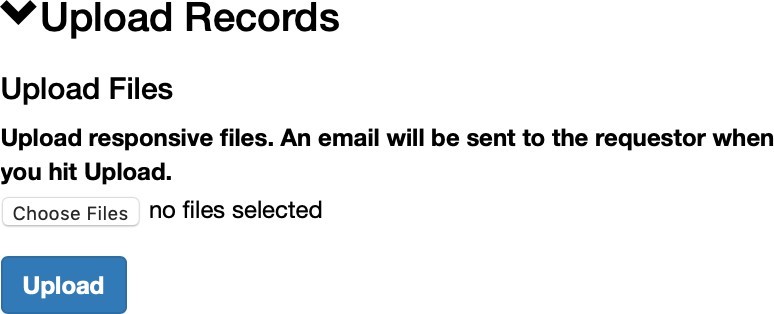
- Expand Upload Records using the Upload Records link on the Request Information page to send responsive records to the requestor. Once you choose the file and click the upload button, an email is sent to the requestor that gives them "fourteen business days" to download the file.
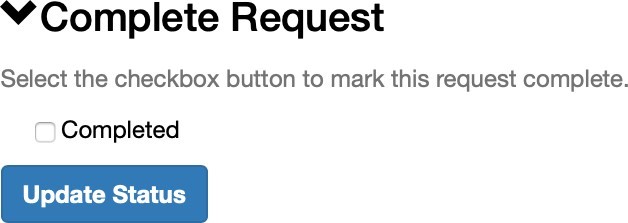
- After all records have been sent, expand Complete Request using the Complete Request link on the Request Information page, check the box marked Completed and click the Update Status button.
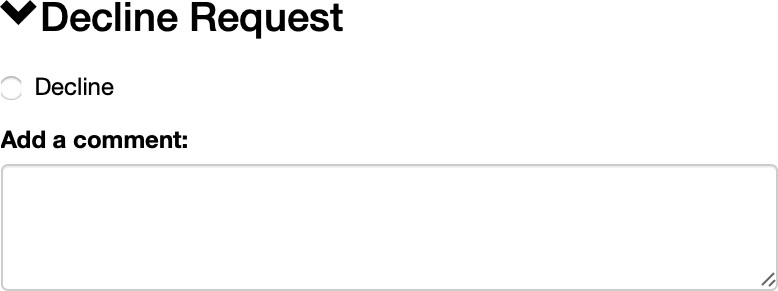
- To decline a request for documents, expand Decline Request using the link on the Request Information page. Click the Decline check box and then explain why the request was denied using the Add A Comment field. For example, perhaps no records exist. Or, no records will be available for some time and they are welcome to resbumit their request at a later date. Click the Update Status button.
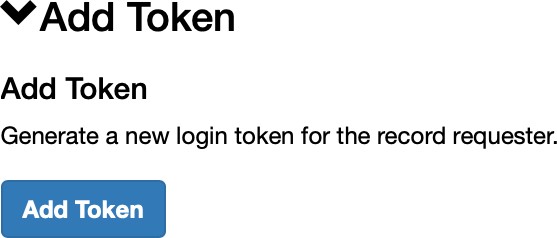
- It may be necessary to generate another token if the requestor failed to use their token before it expired, if they need to add an additional communication, or if they accidentally logged out when attempting to use the application/system. To generate a new token for the requestor, you may add a token using the Add Token link on the Request Information page. The customer uses their email address and the generated token to log in. Each token may be used only one time and is good for up to fourteen business days.
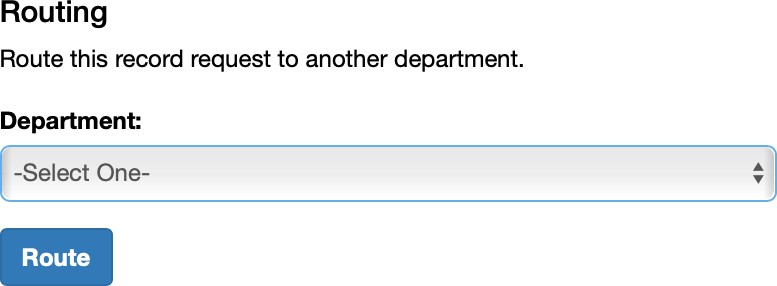
- Use the routing section, using the Route To Department link on the Request Information page, to send the request to a different department. For example, was the request sent to the wrong department, does OSU Legal need to review the request, or does another department need to provide additional files? Expand “Route to a Department” and use the drop down menu to select and route the request.
- Not sure where the request needs to go? Send to “Other - Brand Management.”
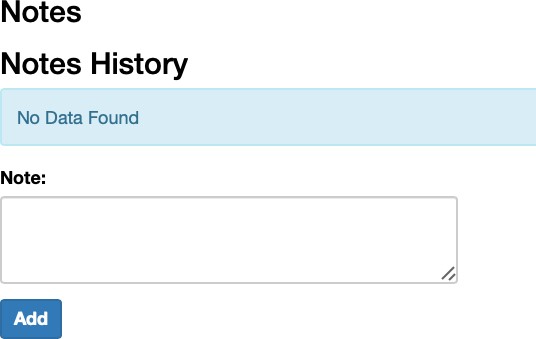
- You may add internal notes to the request in the system using the Add Notes link on the Request Information page. These notes will not be seen by the requestor. Type the note and click the “Add” button. Before filling a request, check here for notes from OSU legal, or notes on the history or status of the request.
- When notes have been added in the system, they will appear in Notes History when the Notes History menu item is expanded.
Questions? Email shannon.rigsby@okstate.edu

